

Rainwater is a natural water source that has been relied upon for centuries by humans, animals and plants alike. In recent times civilizations have relied less and less on rainwater partially due to municipal governments shouldering the burden of capturing, storing and treating residential & commercial water supplies but also due to perceived health risks. There are obvious methods to straight-up filter the water with reverse-osmosis or ultra-violet to ensure its high quality, however, these methods can get expensive and they also rely on a relatively clean filtered water source to operate effectively. The question to be answered in this article is, what can be done prior to the water arriving at the final water filter? What are some steps that be implemented to improve the captured water and improve the longevity of any final filtration option?

Rainwater quality can easily be improved by installing pre-storage filtration systems which reduce the number of contaminants that end up in the storage tank. Once in the tank, the manner that the water is drawn out can be optimized due to the heterogeneous distribution of contaminants within the body of water.
The process of improving rainwater quality starts at the point of collection and then follows step by step as the water moves through storage and eventually out of the tap. This article focuses on the steps that can be implemented prior to the water arriving at the final filtration system, reducing the amount of contamination but not necessarily removing all of it. You obviously do not need to implement all steps from one through to six however it would make sense to follow them sequentially if you are slowly upgrading your system.
If you are interested in reading about the various methods of rainwater purification that can be installed in-line on the way to the tap or even after the tap, I encourage you to read my article: How Can Rainwater Be Purified? What’s The Easiest Way?
First Step: Gutter Guards
The first line of defence against contaminants comes in the form of gutter guards, mesh guards which filter out large debris like leaves from rainwater as it flows off the roof into the gutters. By removing leaves from the rainwater, you are removing one of the primary sources of organic matter which can eventually decompose and help fuel bacterial growth inside your tank. The trick with gutter guards is that you keep them clean, generally speaking, this can be done with a broom just sweeping loose debris from the gutter guards down onto the ground below, a job despised as a kid growing up on the farm!
When it comes to choosing gutter guards, I prefer the flat mesh options that allow for easy cleaning, the rounded or brush-type fixtures are effective but in my opinion are annoying to clean. An example is seen on the right and available here on Amazon, however, anything similar to this design will work well.
Second Step: First Flush Diverter
Even after the gutter guards have done their job, there are still a lot of smaller contaminants like dust, bugs, chemicals, pollens and bird faeces that flow straight through the guards and into the gutters. It would be inefficient to try and filter everything at the gutter stage, so that’s why various stages are employed to ensure clean water and effective capture!

A first flush diverter is designed to capture the first batch of water to come off the roof, which is then released to the ground and not stored. The reasoning behind this is that after a period of dry (the longer the dry period, the worse!) our rooves can accumulate significant organic material and this first batch of water to be collected can be considered the ‘Wash’ of the roof, where the majority of such contaminants are collected and therefore the dirtiest portion of water to come off the roof. The idea of the first flush diverter is to capture this ‘Wash’ off the roof and divert it away from the tank to a garden bed or the ground, thus ensuring the dirtiest portion of water is removed from the supply.
These first-flush diverters are available on Amazon here, or they can actually be made yourself at home to suit the size of your roof & projected rainfall. The options available on Amazon can be seen on the right, with the conceptual image of how the process works above. These smaller Amazon options are great for smaller houses, or even for if you have multiple downpipes leading to the storage tank as multiple can be installed on the various downpipes.
Third Step: Overflow Skimmer
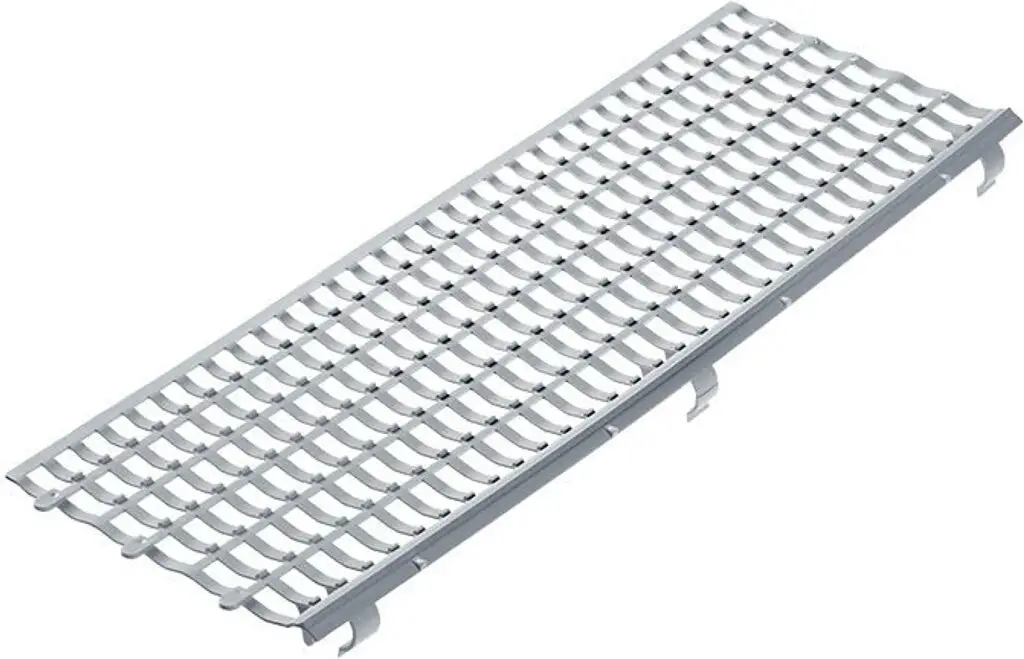
You have probably noticed before when looking at any body of water, the loose debris that floats around on the surface. These loose debris are generally organic contaminants or even inorganic substances like plastic and they lead to this very top surficial layer being some of the most contaminated in the entire water tank or body. So this third step to be added to your rainwater collection system involves removing this floating matter from your water supply once it enters the storage tank, the overflow skimmer, something you may have seen in swimming pools. As the name suggests, the concept behind this apparatus is quite simple, it skims contaminants from the surface of the water tank, collecting them to be dumped in the trash or in the garden. The trick to ensuring that the overflow skimmer remains effective is to consistently dump the contaminants that it has collected every week or two!
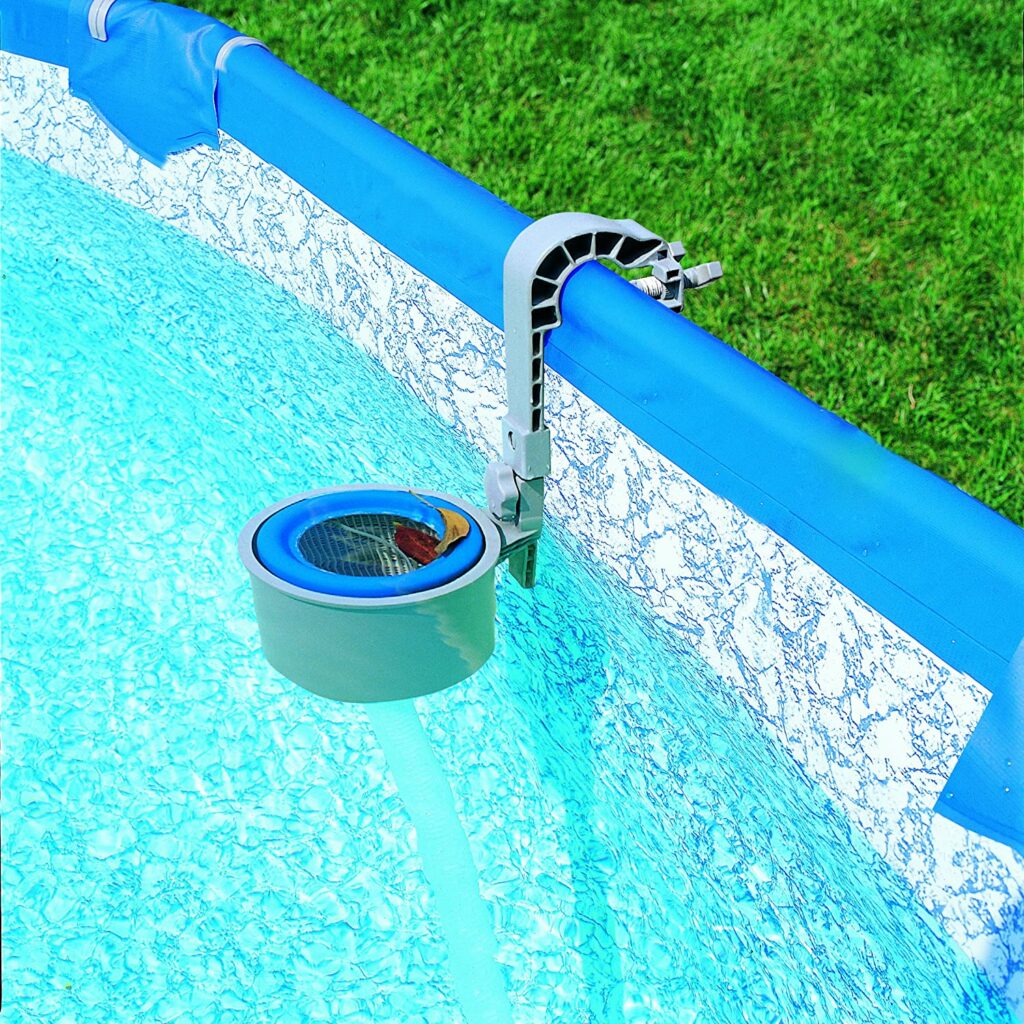
The products available on Amazon often have dual use in that they were actually designed for the large swimming pool market! Not to worry though, these will work just fine in a water tank! As you can see in the photo on the left, the example I have suggested on Amazon is actually being displayed in a crystal-clear swimming pool.
Fourth Step: Floating Extraction Point
Growing up on a farm, it was common knowledge that you would draw water from a dam just below the surface, around 150-200mm, this was due to it being considered the cleanest water depth due to the way sediments and contaminants float/sink. Lighter contaminants float on the surface and heavier contaminants slowly sink after entering the tank, thus meaning the aforementioned narrow band under the surface is statistically the cleanest water in the tank. So it makes sense that the fourth pre-purification step to be implemented involves installing a floating extraction point to ensure the water being drawn out of the tank comes from the cleanest point in the water stratigraphy, this difference in water quality often becomes less stark as water levels decrease in tanks however the principle still stands.
The options available on Amazon for buoys are very extensive, including this simple plastic option here. All that needs to be done once you have your buoy is to attach your extraction hose to about 200mm of rope which will draw it up to the surface leaving the inlet in the cleanest area of water.
Fifth Step: Spindown Filter
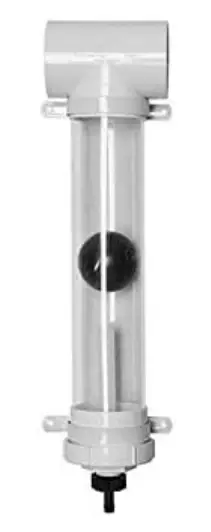
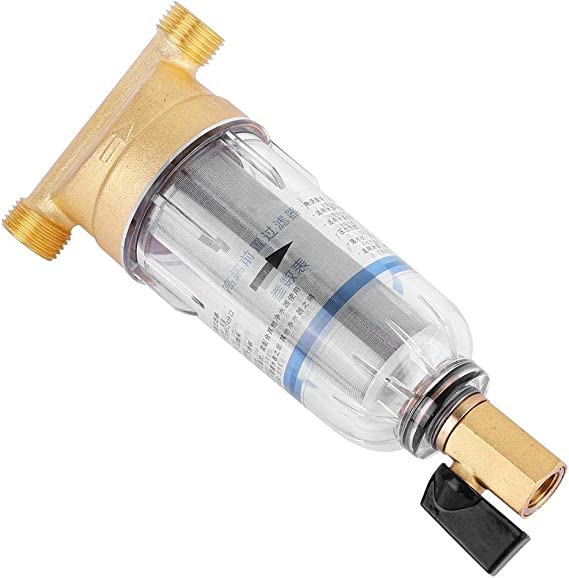
This step is designed at removing remaining sediments that have made it through the previous four steps, likely very fine without being microscopic. The spin-down filter doesn’t rely on any form of mesh or membrane to filter out the sediment. Instead, the spin-down filter forces water to spin and use centrifugal force to separate the sediment from the water, once the water passes through the spindown it is sent back into the pipe and continues along the pipe. The sediment collects at the bottom of the spin-down filter and can be easily purged when it starts to get full.
The main advantage of installing a spin-down filter is that along with having no ongoing costs, it greatly increases the life of the next filtration step. You can pick up a simple and effective spin-down filter off Amazon for around $40, one such example displayed on the right certainly does the job.
Sixth Step: Filter Canister
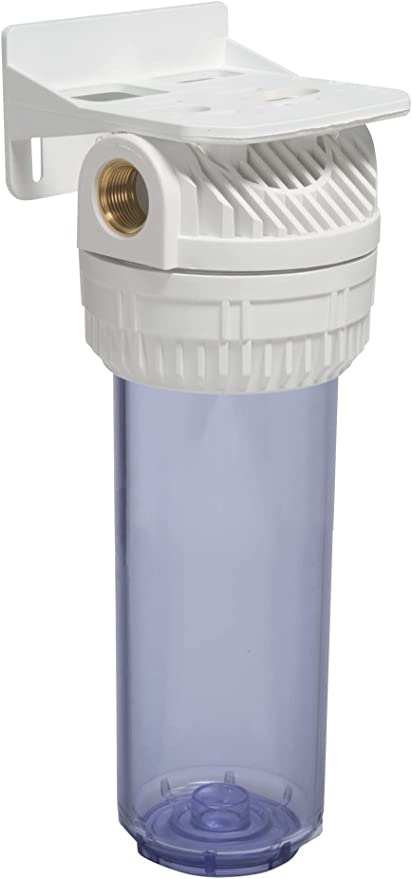
This sixth and final step really is about as far as you can filter the rainwater before it veers into purification, although as only physical separation is at play we will include it in this article. A simple filter canister will remove particles right down to 5 microns if you need it, generally speaking, 20 microns is fit for purpose and will not need to be changed as regularly, it’s a personal preference. This step can in some cases be considered purification, as the water produced, is of quite high quality. The only thing that can still get through is bacteria, salts & metals, all of which would have been significantly reduced in the preceding steps. To implement a filter canister you will also need to purchase a single-stage filter to hold said canister which you can see above on the left which goes for around $25 USD, I have no real preference for brands and have used the generic cotton filter canisters available on Amazon, an example of some 20-micron cotton filters can be seen below, each one should theoretically last about 6 months and goes for around $10 USD.
