

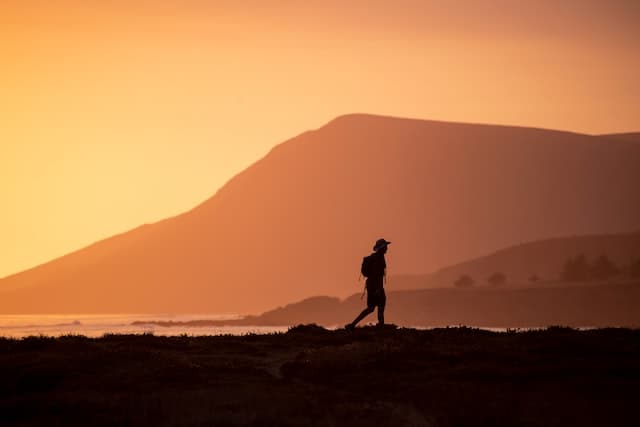
I have done a lot of hiking, particularly over the last few years living and travelling through Brazil, Spain and the USA, and one thing that is immediately clear once you start walking, water is heavy! This is not an issue in parts of the world where freshwater is abundant or there are many small towns to refill bottles at. However, there are instances, particularly in coastal and estuarine waters where you generally have to carry all your required water on your back. Or, is there a lightweight option to desalinate the brackish or seawater available in abundance?
Water can be desalinated when hiking with lightweight RO technology or distillation over a stove or fire. Desalination technology has advanced, although, one constant theme is that solutions are slow, large, and difficult to scale down. These constraints make travel-friendly desalination a compelling topic.
Lightweight Reverse Osmosis (RO)
Reverse osmosis is typically heavy and difficult to scale as it involves forcing water through a semi-permeable membrane at high pressure, this high pressure usually requires large pumps. The pressures required are in the realm of 100 psi (6-7 bar) which requires an energy source and then the actual RO system in addition to that, all in all, RO is generally not practical for hiking or other activities where light weights are important. Even the smallest RO systems still produce 50 litres a day which when compared to personal requirements, a hiker typically needs between 2-6 litres each day.
A small company headquartered in California called ‘Quench Sea’ looked at the challenge of lightweight personal desalination and when designing for only a few litres a day made some drastic changes to the school of thought around RO technology. The pump and energy source got scrapped and were replaced by good old-fashioned elbow grease with heavy-duty plastic housing replacing corrosion-resistant metals. The resultant machine weighs 2.2kg and is operated by hand or foot pumping water to the required pressure through a membrane producing water at a rate of approximately 6 litres per hour depending on how hard you are working! 2.2kg may be on the slightly heavy side however when you put it into perspective, that is just over the weight of a full two-litre bottle of water. Having a tool like this really does open doors when it comes to long-distance hiking in remote coastal areas, particularly in places like Australia where hundreds of kilometres of coastline can pass between beach towns.
Distillation
The old-fashioned technique of capturing and cooling water vapour is always an option to create drinking water. Perhaps not be relied on as a first choice due to its slightly cumbersome nature, distillation is definitely a great backup and knowing how to do it in a pinch is a great skill to have. There are two main options when it comes to distilling water when hiking, boiling water over a fire and capturing the steam or in desperate cases evaporating water from unconventional water sources and capturing the vapour.

How to boil seawater into drinking water?
To boil seawater into drinking water you need to boil an amount of water in a saucepan until it is completely dry whilst capturing all of the steam. The easiest way to do this requires; A saucepan, a funnel, 1-2 feet of plastic tubing and of course a fire. The plastic funnel needs to have a slightly wider diameter than the saucepan and should be connected to the plastic tube with tape.
- Start a fire with available wood or sticks in your vicinity.
- Fill up your saucepan with dirty salty water and put the saucepan in the fire, preferably in an area without too many flames.
- Just before the water starts to boil, place your funnel upside down over the saucepan of water, if you can set up some sort of jig to hold it off the saucepan surface, this is ideal but not necessary.
- Place the other end of the tube not connected to the funnel into your drink bottle.
- Watch that water drip in and fill up your water bottle!

Note:
- The longer the tube the more efficient the process as the steam will have more time to cool and condense into water.
- If you happen to have a lightweight gas stove, this will work and although it may be easier, you will use a lot of gas if desalinating multiple litres of water so perhaps wood is the better option if available.
It takes approximately 25 minutes to desalinate a litre of water over an open fire. This is a scientific question revolving around energy output from the heat source into the energy required to convert a litre of water to vapour. One litre of water requires 2257kj of energy to convert from liquid to gas at 100 degrees Celsius, it can be assumed a small campfire puts out a similar amount of heat to a small gas burner of around 2kW. It must be noted that not all of the heat goes into the water and a lot is lost due to wind and other factors so you could assume around 75% efficiency for the heating process.
2257kj / 2kW @ 75% efficiency = 1504 seconds / 60 = 25 minutes
Of course, the above number could change a lot depending on the ambient temperature, wind strength shape & size of the water vessel etc although as an approximate figure the math holds true.
Using the sun to evaporate & capture water vapour
You can extract drinkable water from anything that holds moisture, be it mud, urine, or plant matter by capturing water vapour on a plastic sheet and dripping it in an open container. This is definitely a last resort but it is good to know and it of course works with seawater as well. All that is required is some form of plastic sheet and a container. The idea is to create a small hole in the ground filled with moist material that gets artificially hot, evaporating the moisture before being collected on a plastic sheet and dribbling into a container.
- Dig a hole somewhere sunny, making sure it is smaller than your plastic sheet.
- Put your container in the middle of the hole, this will be where the water is collected.
- Pack your source of moisture into the hole around the cup, be it mud, organic matter, urine etc.
- Place the plastic sheet over the hole and seal up the edges as best possible with sand, rocks etc to stop any air/vapour from escaping, the closer to airtight this setup is, the more efficient it will be.
- Put a small rock on the plastic sheet directly above the container, and make sure it’s heavy enough so the plastic sheet’s obvious low point is above the cup. This will make the water droplets run down the plastic sheet and into the cup once they condense on the sheet.
Note: Don’t interfere with the setup until you want to actually drink the water as the process will have to start again each time it is opened up.

letsdowater.com/what-are-the-5-different-desalination-types/#RO
quenchsea.world